I want...
How To Sprout
August 12, 2011 By
Leanne Vogel

 July 15, 2015
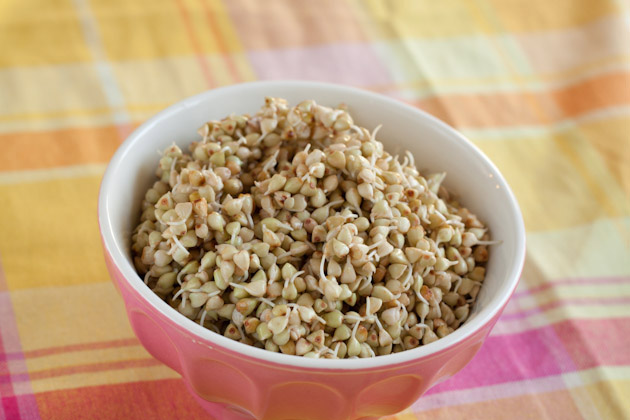 More and more people are discovering the benefits of the condensed energy in sprouted seeds, grains, and legumes.
I get asked quite frequently on how to sprout, what the benefits of sprouting are, and what to do when the sprouting is complete. Although the process does take a couple of days, the benefits are huge!
The story of the sprout
Simply put, sprouts contain all the elements a plant requires for life. The endosperm [center] of the seed is made up of macronutrients – carbohydrates, protein, and fats. When soaked, the seed germinates and causes these elements to become predigested amino acids and natural sugars. This process makes the food more readily available for assimilation, and higher in vitamin and mineral content than in its non-sprouted form. Also, seeds are low in cost, can be stored indefinitely, are easy to grow, and; when sprouted, increase their nutritional value. What’s not to love?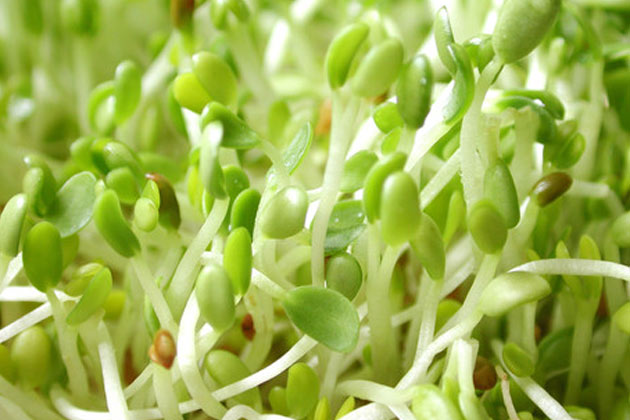
[source]
Notable nutritional benefits
Seeds become higher in phosphorus that can increase alertness, mental capacity, promotes healthy bones and teeth [great for babies and children!]. The chlorophyll, vitamin B, D, and essential amino acids increase too. When cooked, wheat can sometimes cause mucus congestion, allergic reactions, and constipation. In its sprouted form, a large portion of starch is converted to simple sugars, making it easier on the digestive tract. Also, buckwheat becomes rich in lecithin, a fat emulsifier that aids in the breakdown of fatty acids. And, did you know that when legumes are sprouted they actually become alkaline forming instead of acid forming? This is very helpful for those following an alkaline dietEquipment you’ll need
- Mason jars with lids and screw bands or rubber bands
- Cheesecloth or nylon

[source]
Keto shopping lists, recipes, and more! Start keto with this FREE 5-step guide.
I'm ready!What can you sprout?
- Seeds: alfalfa, brocolli, celery, clover, oats, radish, fenugreek, and sunflower.
- Grains: rye, wheat, buckwheat, barley, quinoa, millet, and rice.
- Legumes: lentils, kidney beans, navy beans, pinto beans, mung beans, and soy beans.
4 steps to sprouting
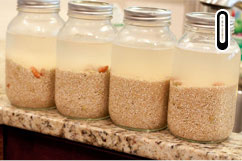
 Drain.
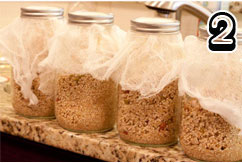
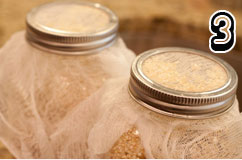
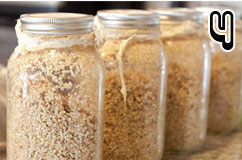
After soaking for the specified time, place cheesecloth or nylon over the mouth of the mason jar and secure with mason screw bands and a lid, or rubber bands. Drain, rinse and let stand without water for 8-12 hours.
Sprouting tips
- When determining the desired amount of seeds or grains for each container, take note that they will expand about eight times the original amount.
- Legumes will not expand as much as seeds or grains, they’ll get to about 4 times their size.
- For sunflower and lentil sprouts, the “tail” of the sprout should not be larger than the seed itself.
How to store
Store in the refrigerator in a jar or plastic bag for up to two weeks.How to enjoy
It’s best to eat sprouts in raw form as cooking can destroy some of the nutritional content. There are cases where cooking sprouts is beneficial, but more on that later. You can eat the entire sprout, including roots and leaves. I like adding my sprouts to cereal, salads, sandwiches, smoothies, sauces, hummus, and raw treats like these almond buckwheat goji bars. Because of the high phosphorus content, they would also be fantastic in homemade baby food. Stay tuned tomorrow for a gluten-free sprouted bread recipe that I’m ridiculously excited to share with you. Take that Ezekiel bread!This entry was tagged: how to
Hi! I'm Leanne (RHN FBCS)
a Functional Medicine Practitioner, host of the Healthful Pursuit Podcast, and best-selling author of The Keto Diet & Keto for Women. I want to live in a world where every woman has access to knowledge to better her health.


