I want...
Gluten-free Gingerbread House
December 27, 2011 By
Leanne Vogel

 November 8, 2017
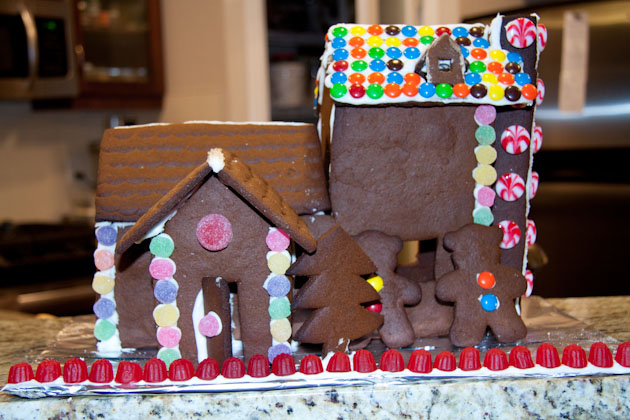 Hi everyone, how was your Christmas?
Ours was over in a flash! We got home from Dominican at noon on Christmas day. Both of us managed to stay awake until 7pm (minus a couple of unplanned naps throughout the day) before we fell asleep on the living room couch for over 14 hours. We didn’t even make it into bed!
Thankfully, come Monday we were ready to get our gingerbread house making underway!
Kevin and I began making gingerbread houses together during our first Christmas. Since then, it’s turned into a yearly tradition that we’ve come to look forward to with every passing year.

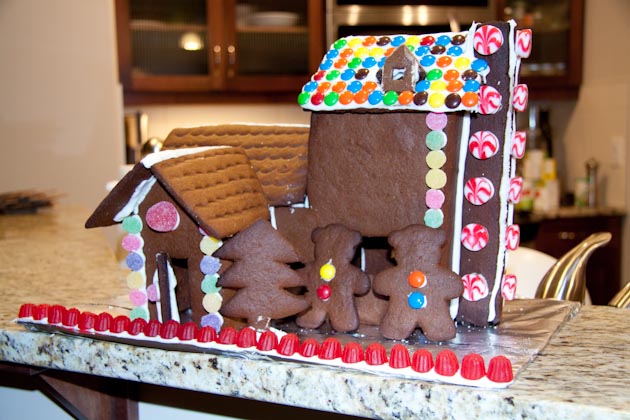
My house last year, complete with a candy garden in the backyard!
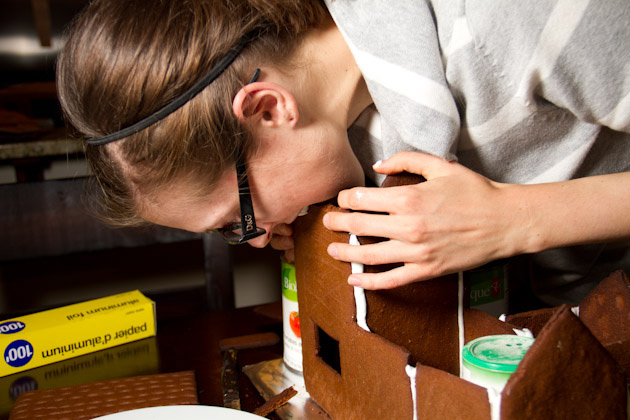 Have you ever tried to make a gingerbread house from scratch?
It’s a lot of work. But in the end, I was pretty proud that we’d done it!
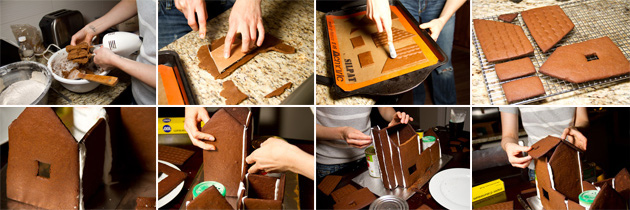 From start to finish, it took us about 6 hours.
- 2 hours to prepare the templates from the design
- 2 hours to make the dough, cut out the pieces, bake, and allow to cool
- 1 hour to put the house together
- 1 hour to decorate
 [source]
Then drew the measurements and pieces we’d need and started drafting them on a piece of cardboard. That’s around the time that Kevin fell asleep, so I sat watching Sound of Music on Sunday afternoon, cutting out all of the pieces by my lonesome.
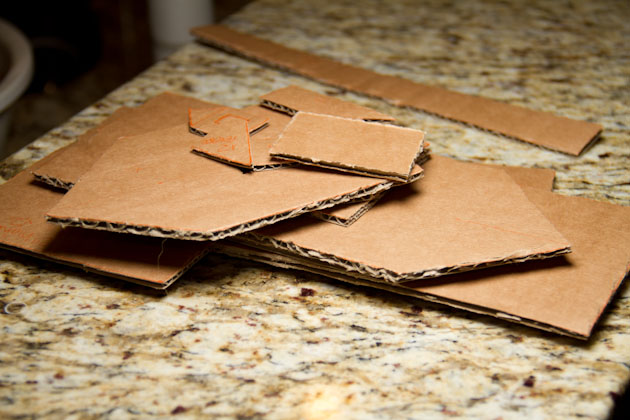 Once our template was ready to go, and the blog was fixed (sorry about all the issues yesterday – things seem to have settled down now), we were off to the kitchen for what we didn’t expect would be a very long; but fun, evening!
- 1.5 cups vegetable shortening *see note 1
- 1.5 cups of firmly packed brown sugar
- 1.5 cups unsulfured blackstrap molasses
- 1.5 teaspoon pure vanilla extract
- 3.75 teaspoon baking soda
- ¾ teaspoon Himalayan rock salt
- 3 tablespoon freshly ground flax seed
- 1.5 cup teff flour
- 2.25 cup light buckwheat flour
- 1.5 cup sorghum flour *see note 2
- 1.5 cup tapioca flour
- ¾ cup chickpea flour *see note 3
- 2.5 tablespoon ground ginger
- 1 tablespoon ground cinnamon
- 1.5 teaspoon ground nutmeg
- ¾ teaspoon ground cloves
- Gluten-free candies like M&Ms, skittles, Mike n’ ikes, Swedish berries, hard candies, jelly tots, or jube jubes *see note 4
- http://www.joyofbaking.com/RoyalIcing.html
Brown rice flour can be used
Millet flour can be used
It can be challenging to find corn-free candy, but not impossible. If you’re planning on eating the house, check out companies like the Natural Candy Store or Indy Candy for allergen-free candies.
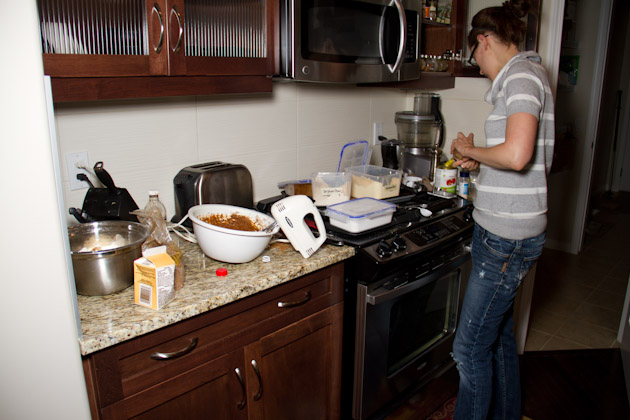 We began by setting out all of the ingredients and whipping the shortening and brown sugar together until it was fluffy.
Once the flour was added, the beaters had a hard time pushing through the dough, but I just kept at it. The dough is very tough and will look dry. Just keep beating until fully incorporated, then knead it with your hands before rolling it out.
 Roll the dough out to 1/4-inch thickness and begin tracing a piece of the template. I did this with a small knife and it was perfect.
Once you’ve outlined the template, push away access dough with the knife, then remove the template. It may stick to the dough a bit, but don’t be alarmed. Just use some force, it’ll be fine. Lift the dough from the counter using a thin turner or spatula and place on the prepared pan.
 If you want shingles on your roof, you can use the opposite end of a spoon and press it into the roof pieces.
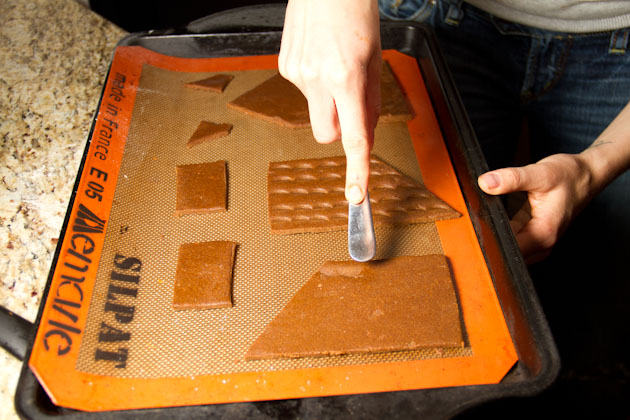 Cook for 8-12 minutes, allow to sit for 5 minutes, then transfer over to a cooling rack.
Don’t rush through this part. Be patient! I broke a couple of pieces along the way and had to redo them. Not fun.
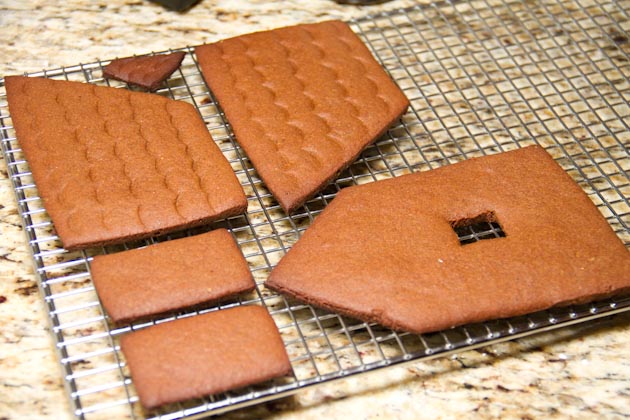 Once the pieces are all cooked and cooled, prepare the base for your house! We used a pieces of cardboard wrapped in aluminum foil.
Then, lay out all your pieces to make sure you’re not missing anything. This is also a great time to shave down pieces that baked lopsided. I used a small knife to make most of the edges flat, get rid of bumps and prepare them for icing.
 Jump back into the kitchen to make the royal icing!
You can separate the egg whites from the yolks using this method, then add the remaining ingredients. If the icing is too thick, I like to add extra egg white, not water as the recipe I’ve linked to suggests.
Spoon the thick icing into a piping bag and you’re ready to rock! If you don’t have a piping bag, a large ziploc bag with the corner cut off will do the trick.
 Begin assembling your house!
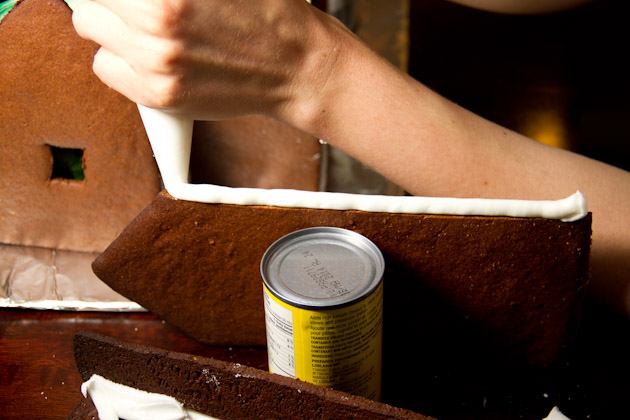
We used cans and other pantry items to hold the pieces as we were building, stopping every so often for a 15 minute break to give the house time to settle.
 I made sure to get lots of icing on each piece so the house was less likely to budge.
 And we used paper towel rolls for structural support for the roofs – best idea ever! We always have a roofing problem – pieces sliding off, breaking the house, etc. but this year there was none of that!
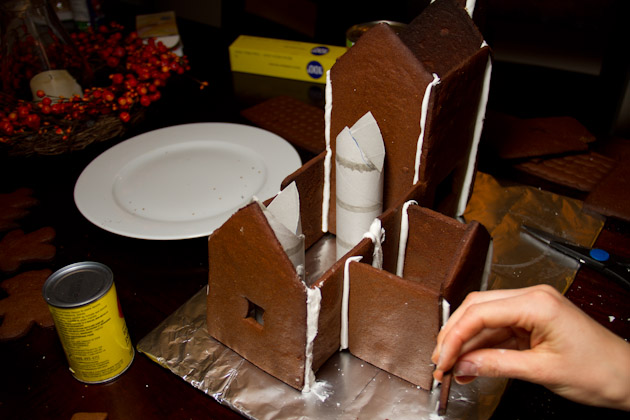 Once the house is prepared, allow to sit for a couple of minutes while you lay out all your candy.
 Then, if you still have any energy left, start gluing candy to every dry spot of that house!
Next year – we separate the project into two days so we can decorate more. By the time we got to the decorating stage we were so exhausted!
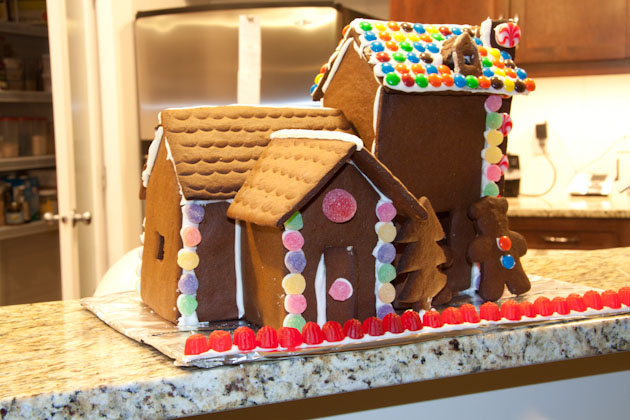 What’s your favorite Christmas or holiday tradition?
Hi! I'm Leanne (RHN FBCS)
a Functional Medicine Practitioner, host of the Healthful Pursuit Podcast, and best-selling author of The Keto Diet & Keto for Women. I want to live in a world where every woman has access to knowledge to better her health.


