I want...
Sandwich Bread (Gluten-free, Egg-free, Oil-free)
April 28, 2013 By
Leanne Vogel

 November 29, 2018
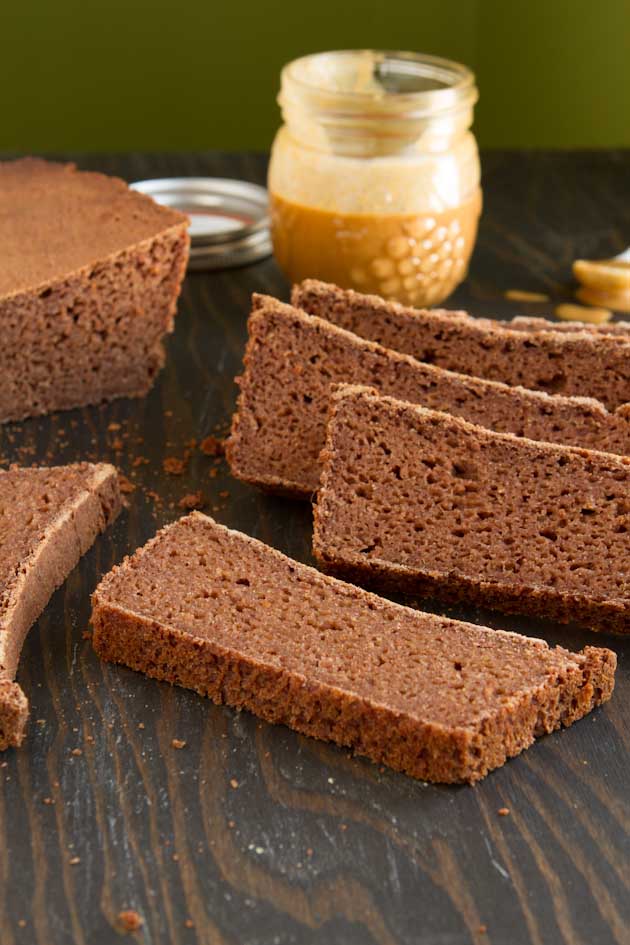
Oh goodness me, do I have a treat for you today!
My flour, starch and grain collection has gone a bit haywire again. Mason jars full of random seeds, bulk bin bags strewn across the pantry, little containers with various flours, unlabeled and growing dust…
Keto shopping lists, recipes, and more! Start keto with this FREE 5-step guide.
I'm ready!My favorite way to attack an unruly pantry is to either create a couple batches of grain-free granola bars or make bread. Both use up a good amount of ingredients, fast.
I usually go the granola bar route because making bread scares me, what with Kevin being German and all. That man knows his bread. To top it all off, his Mom is visiting right now, so making a bread that would pass their high standards was a little intimidating.
… but I went for it!
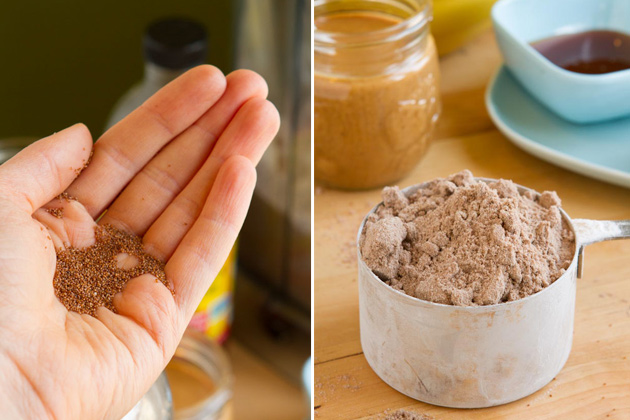
About 6 months ago, I ordered 10 pounds of teff grain with plans of puffing it for cereals and granola… but that never happened. So I figured if I could nail down a good teff bread, I could start making my way through the 10 pounds of grain sitting in the pantry.
Teff is an ancient grain that is believed to have originated in Ethiopia. It’s extremely tiny in size and is loaded with calcium, B vitamins and manganese.
You can find teff flour in most health food stores. I ground my own teff flour using my Vitamix dry container. Works like a charm for making quick flours!
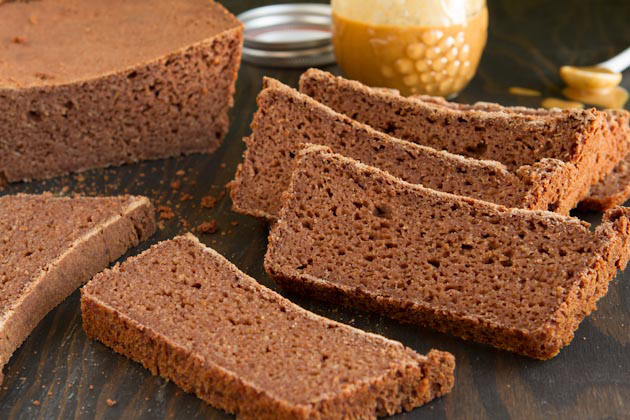
I wanted to make this recipe oil-free. You know, pump up the nutrients of the bread and make it easier to digest for many of you oil-free folks out there.
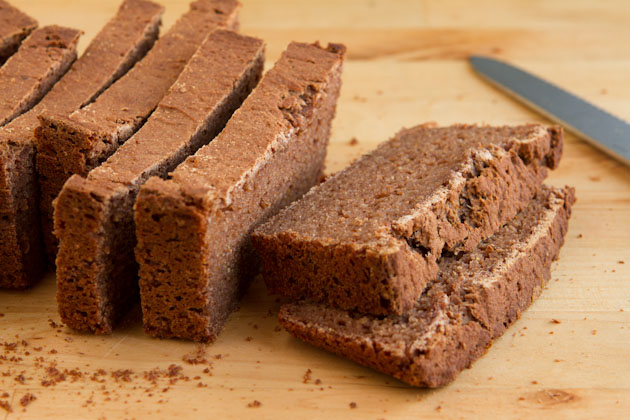
4 iterations later, and I have the perfect gluten-free sandwich bread for you. It can be sliced super thin, it’s flexible (perfect for sandwiches for the first few days, after that, best to heat it up) and loaded with protein, fiber and calcium. 2 slices has more than 10 grams of protein!
(It makes great French toast, too)
To print, email or text this recipe, click here.
Inspired by The Whole Life Nutrition Kitchen
- 1 ½ cups warm water (100F to 110F)
- 1 package Fleishmanns dry active yeast
- 1 teaspoon coconut sugar
- ¼ cup nut butter - I used hazelnut butter
- 2 tablespoons coconut nectar
- 2 tablespoons ground flax seeds
- 1 tablespoon raw apple cider vinegar
- 2 cups teff flour
- 1 cup arrowroot starch
- 2 teaspoons freshly ground chia seeds
- 1 teaspoons sea salt
- Lightly oil an 8 x 4-inch loaf pan with a small dab of whatever oil you have on hand.
- Place the warm water and teaspoon of coconut sugar into a small bowl (a 2-cup liquid measure works well). Make sure the water is the right temperature. If the water is too cold the yeast will not become active and if the water is too hot it will kill the yeast. Add the yeast and stir. Proof the yeast by allowing it to stand for 5 to 10 minutes. It should become bubbly, if not start over with fresh yeast and water.
- Add nut butter, nectar, , oil, and ground flax seeds. Stir well with a spoon, just until mixed. Allow to sit again for 5 minutes.
- Stir in vinegar.
- Meanwhile, add flour, starch, chia and salt to a large mixing bowl.
- Pour in wet ingredients and stir well to mix thoroughly.
- Transfer dough to your prepared loaf pan and flatten top with the back of a spoon. Cover pan with a towel and allow to rest in a very warm spot to rise. I like letting it sit in an UNHEATED oven but any warm spot will do the trick. Let it sit for 60 minutes.
- Then, bake in a 350F oven for 35- 40 minutes - until top is golden and a toothpick inserted comes out relatively clean. The bread will firm up and continue cooking out of the oven.
- Allow loaf to cool in pan for 5 minutes before removing it from the pan and placing on a wire rack to cool. Cool completely, for an hour, then cut into 16 slices.
- Can be stored in an air-sealed bag for 2 days on the counter, in the fridge for 5 days, or in the freezer for up to 2 months. The bread does firm up after 2 days so it's best to heat before enjoying.
I did not test this on any other grain. I am not sure if it would work any other way than with teff flour.
You can find teff flour in any health food store.
I wanted to make this recipe free of xanthum or guar gum as I don't like to use them in my baking. If chia seeds are not an option for you, you can use an equal amount of xanthum gum or guar gum instead.
View nutrition information (once on page, scroll down)
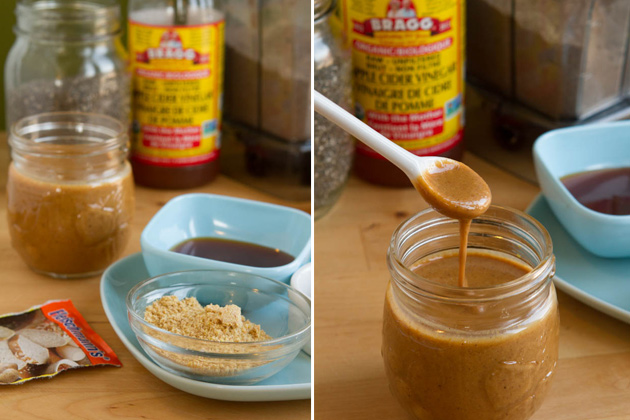
As I mentioned in the notes of the recipe, you want to make sure that the nut butter that you use is drippy. Stirred almond butter, sunflower butter, whatever you choose. I used a batch of homemade roasted hazelnut butter. I can’t seem to get enough of the stuff lately!
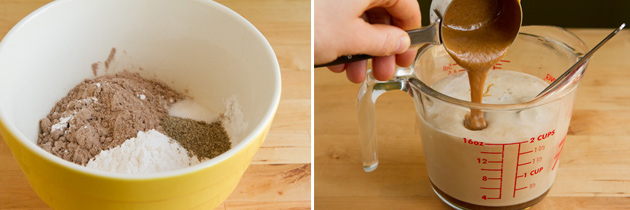
Add your dry ingredients to a bowl and set aside.
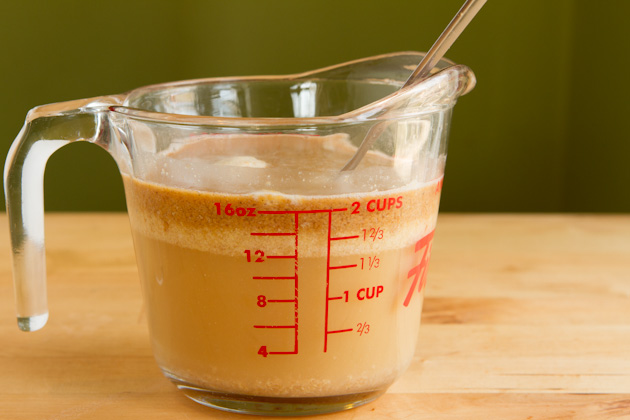
The yeast and mixture should look like the picture below, all frothy and in-action. It’s very, very important that you get the water temperature right or the yeast will not activate and your bread will not work out.
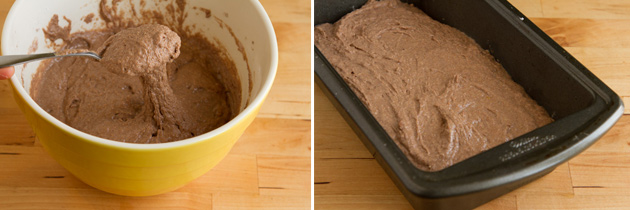
The consistency of the batter should look like this, thick and a bit stringy… if I had to label it with one word.
Once it’s resting in the loaf pan, cover with a towel and let it sit in a warm place for no more than 60 minutes. It should double in size.
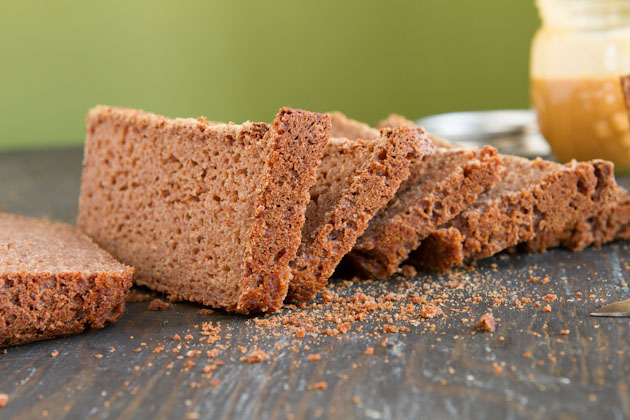
Then you’re baking this bread, you’ll know it’s done by the look of the top. It should be slightly golden with a couple of cracks developing on the outer edges. All four times that I was testing this recipe, when a toothpick was inserted it wasn’t 100% clean. It had a touch of bread on it but I took the bread out anyways, let it sit, and it firmed up perfectly.
Like… perfectly.
Can you do me a favor? Can you help support my business by sharing this rockn’ recipe with your pals? Post on Facebook, Pinterest or Twitter and help spread the Food Allergy Freedom love. It would mean the world to me!
Once you’re done sharing, I would love to know – what is one thing that you’re intimidated of baking, cooking or preparing?
This entry was tagged: bread, gluten free bread
Hi! I'm Leanne (RHN FBCS)
a Functional Medicine Practitioner, host of the Healthful Pursuit Podcast, and best-selling author of The Keto Diet & Keto for Women. I want to live in a world where every woman has access to knowledge to better her health.
